 EN

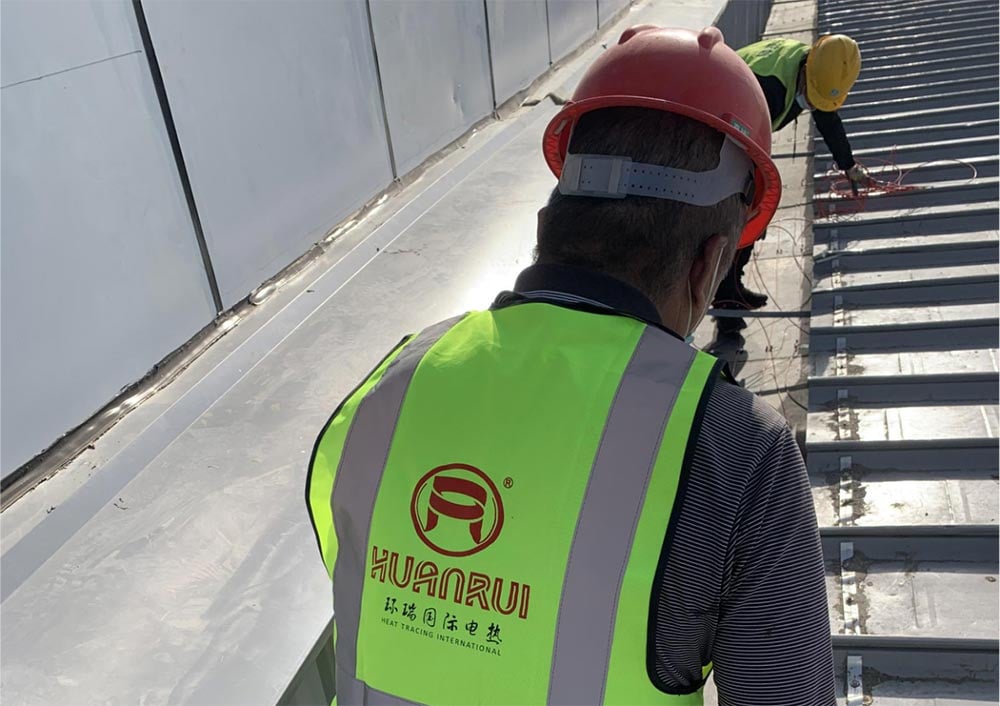
Snow melt heating cables are engineered for anti‑icing and snow‑removal on multiple outdoor substrates and building components. Different cable types (self‑regulating, constant‑wattage, mineral‑insulated MI heating cable) suit different installation environments. Proper embedding, fixing and thermal‑control matching are required to guarantee stable snow melt performance.
Pavement & hard ground substrates
1. Concrete
Snow melt cables can be embedded inside newly poured concrete slabs. A minimum concrete cover thickness shall be kept above heating elements. Avoid crossing expansion joints and crack‑control joints. It is widely used for driveways, sidewalks, pedestrian paths, loading ramps and stair treads. Retest cable resistance and insulation resistance before pouring concrete, during construction and after curing.
2. Asphalt
Special asphalt‑grade snow melt cables shall be selected, which can resist short‑term high temperature from hot‑mix asphalt paving. Cables are laid on compacted base course before asphalt construction. Heavy compaction rollers cannot roll directly over heating cables. Applicable for asphalt driveways and outdoor ramps.
3. Pavers / paving bricks
Cables are laid within the sand bedding layer underneath pavers. A sand cushion separates heating elements from paving bricks. This solution applies to pedestrian walkways, patios and access paths.
Building roof and drainage components
1. Roof eaves & roof valleys
Cables are fixed along roof edges, eaves and roof valleys with special roof clips. They form a drainage channel for melted snow water to prevent ice‑dam formation on shingled or metal roofs. Only install on the zones prone to ice accumulation, no need to cover the whole roof area.
2. Gutters (roof troughs)
Heating cables are laid flat inside gutters by gutter brackets and aluminum adhesive tape. Prevent ice block‑up so melted snow can flow away smoothly. Double‑run cable layout is recommended for heavy‑snow regions.
3. Downspouts / drain pipes
Lay cables forming loops inside downspouts. Melt ice inside vertical drainpipes and avoid complete blockage of drainage systems. Cable loops shall not extend out of the bottom end of the downspout.
Stairs and ramp structures
1. Outdoor stairs & steps
Cables are arranged horizontally on stair tread surfaces, keep proper distance from step edges and railing reserved drilling positions. Heating elements shall not run across step riser expansion gaps. Concrete‑base stair structure is preferred for embedded installation.
2. Outdoor ramps
Include vehicle loading ramps, pedestrian access ramps, sloped walkways. Cables are embedded in concrete / asphalt / paver layers. Higher power density is normally configured for slopes, as snow tends to accumulate and slide on inclined surfaces.
Important installation notes
1. Constant‑wattage snow melt cables cannot overlap or cross each other to avoid local overheating. Self‑regulating cables permit limited overlap following manufacturer specifications.
2. Keep minimum cable‑to‑cable spacing as required by product manuals, never lay cables too close together.
3. All outdoor snow melt circuits must be equipped with residual‑current device (RCD / GFCI) ground‑fault protection.
4. Equip snow melt controllers with slab / aerial temperature‑moisture sensors. System automatically starts‑stops upon snowfall and ambient temperature changes to save energy. Manual override function is suggested for special weather conditions.
5. Complete resistance and megger insulation tests before, during and after embedding work and keep test records for warranty purpose.
6. Allow full curing period for concrete, asphalt or sand bedding before energizing the snow melt system.